Use of a More Recent Browser is Recommended
This site uses modern HTML5 features and may not render correctly on earlier browsers. If you use Internet Explorer, version 11 and later is recommended.
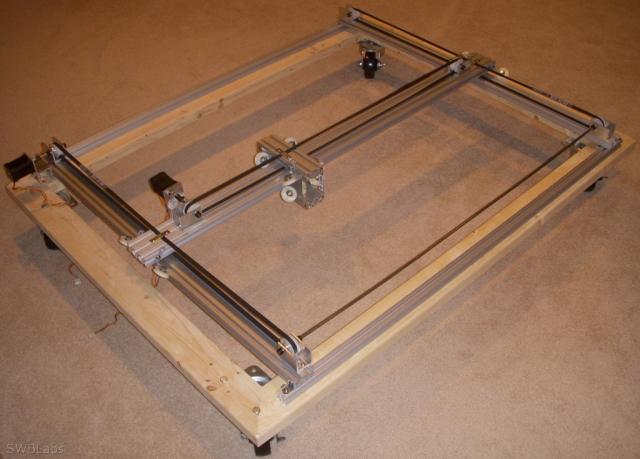
As part of a larger project I had a need for an inexpensive XY table. I've built a couple of high-precision CNCs before but in this case I didn't need such high accuracy and was willing to make some compromises to keep the cost low. I found an excellent instructable and proceeded with the build with a couple of minor refinements.
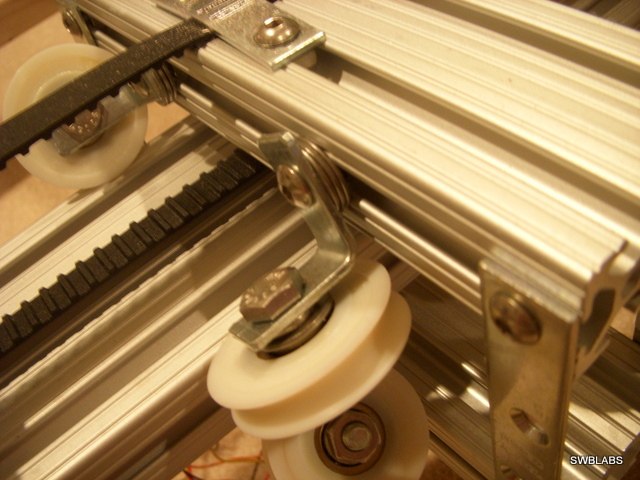
 Things went fairly smoothly during the construction. One has to be rather careful when inserting parts onto rods. If things don't fit easily, it's best to file the rod down a bit so that things slip on more easily. I destroyed one of the pulleys when it got stuck on the rod. I also found that with the Y carriage it was difficult to position all the pulleys to keep in contact with the beam. So by using some of the longer bolts and a few washers I was able to extend the reach of the angle brackets and make good contact between all pulleys and the beam.
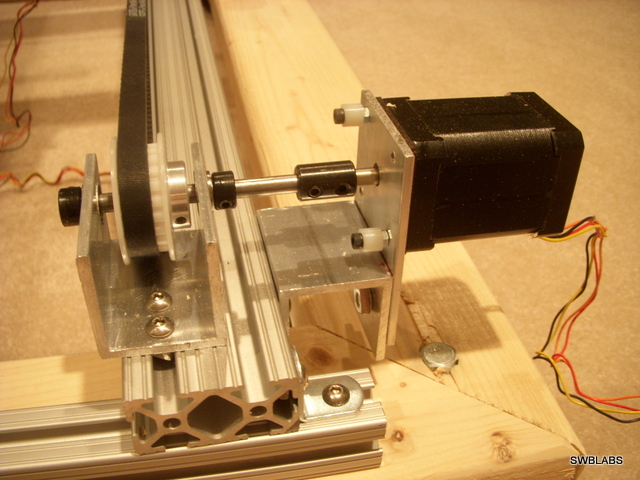
 I chose some high-torque stepper motors to drives the stages. MakerBot had these on sale and they drive the stages well. And since I'm controlling the table with an Arduino and grblShield the motors already had the correct connector for the grblShield. It was straight-forward to design a motor mount using some of the remaining aluminum channel (which has been used for the pulley mounts) in addition to some 1/8"x2" aluminum strip from Home Depot. I made sure to get the cork gaskets for the motors from MakerBot so the motor would mount flush against the aluminum plate. As the photo shows, I didn't have any shorter screws to attach the motor so I used some screws left over from a MakerBot build along with some spacers to improvise. I used 1/4" shaft couplers to mate the motor with the rod.
 To drive the motors, I'm making use of a grblShield along with an Arduino Uno. I reflashed the Uno with the Grbl software using a spare Seeduino that I had as an In-Circuit Serial Programmer (ICSP) as described in this Sparkfun tutorial. AVRDude was used to do the programming as described in this tutorial. I built the Grbl software on a VM running Ubuntu 11.10. The only difficulty was with some compilation problems for which workarounds are described here.